After extensive searching, you’ve finally tracked down just the boat you’ve been looking for and have arranged a viewing. But before you get carried away with the excitement, and thoughts of new adventures, be sure to take a step back and make a clear, cool-headed appraisal of her condition.
Prior to setting out, consider drawing up a checklist of areas you want to examine and questions to ask, as care taken at this stage can save significant expenditure further down the line. For all but the cheapest of boats, you will want to have a professional survey, which will help you get insurance as well as point out any defects you’ve overlooked. But, before committing to spending on a professional report, there are a number of problem areas to look out for yourself.
Many issues with older boats can be easily fixed, but a clear understanding of the cost involved in bringing a boat up to standard should help you to negotiate the best price.
First Sight
If out of the water, the most obvious place to start is with a good walk around the hull to check for any signs of knocks, damage or colour deterioration in the gel coat and dents in the rubbing strake. Patches of discolouration could hide previous issues which have been patched up. Blisters set alarm bells ringing for osmosis, which can be expensive and time-consuming to put right, but these are sometimes benign and may have been caused by aeration in the gel coat during production.
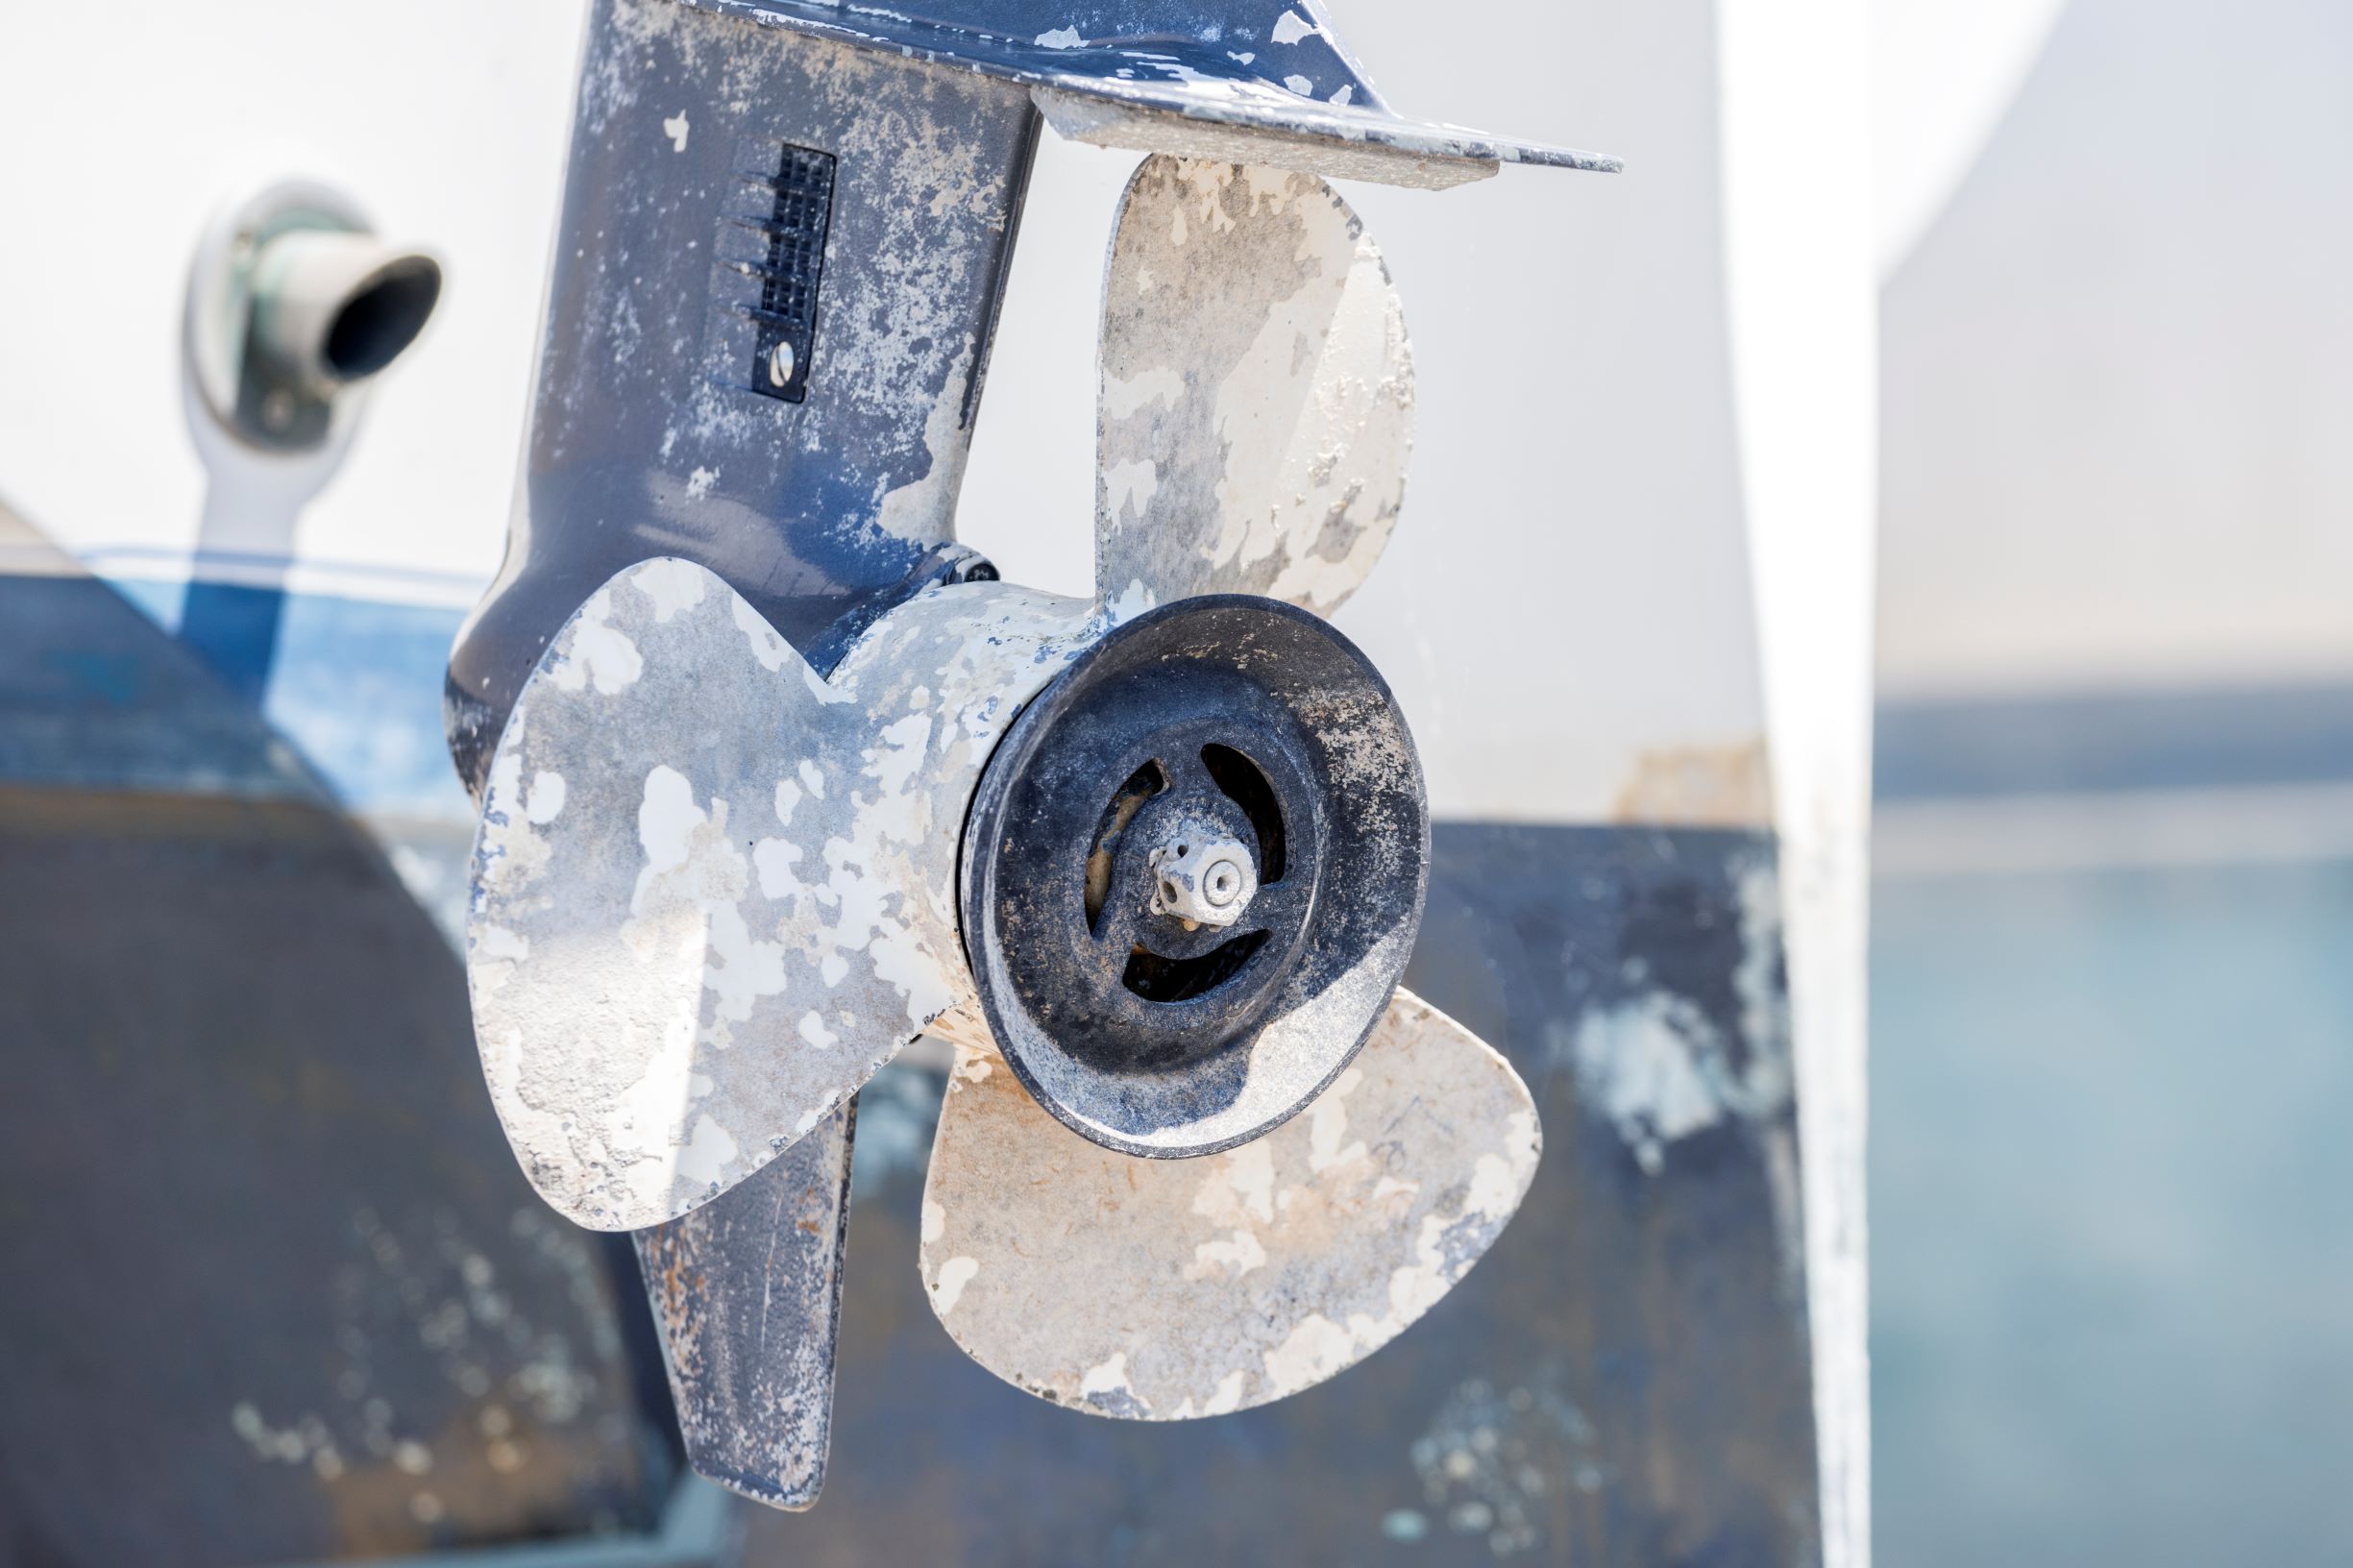
Osmosis occurs on older boats, when small amounts of water seep through the gel coat over a long period of time and reacts with uncured chemicals in the laminate to cause blisters and weaken the structure. This can cost thousands to put right professionally. As it is exacerbated by warmer climates or time spent in fresh water, be sure to look out for osmosis in older boats which have spent any time in the Med or on lakes and rivers.
If you come across a knock or chip this can often be easily put right with DIY repairs but more substantial damage can occasionally lead to structurally weakening delamination. Bad scrapes or gouges along the bottom of the hull may need further investigation and any separation between the hull and deck superstructure is almost impossible to put right.
Down below
If the boat feels particularly damp or musty when you go inside, water may be getting in so check for signs of leaks, particularly warped floorboards, blackened woodwork or stained cushions. Also, take a look at the head and check for particularly bad odours which can be a sign of leaking hoses and connections or trapped seaweed or algae.
Electrics
As faulty electrics are the most common cause of onboard fires, and many boats have had equipment installed or circuits tampered with by their owners, anything beyond the most basic of setups should really be professionally checked. Systems are often overloaded with too many pieces of kit and loose electrical connections can also cause corrosion of metals through electrolysis. A full professional rewire is likely to be expensive as it is a time-consuming job that usually requires removing headlinings and other fittings to reach.
Engine
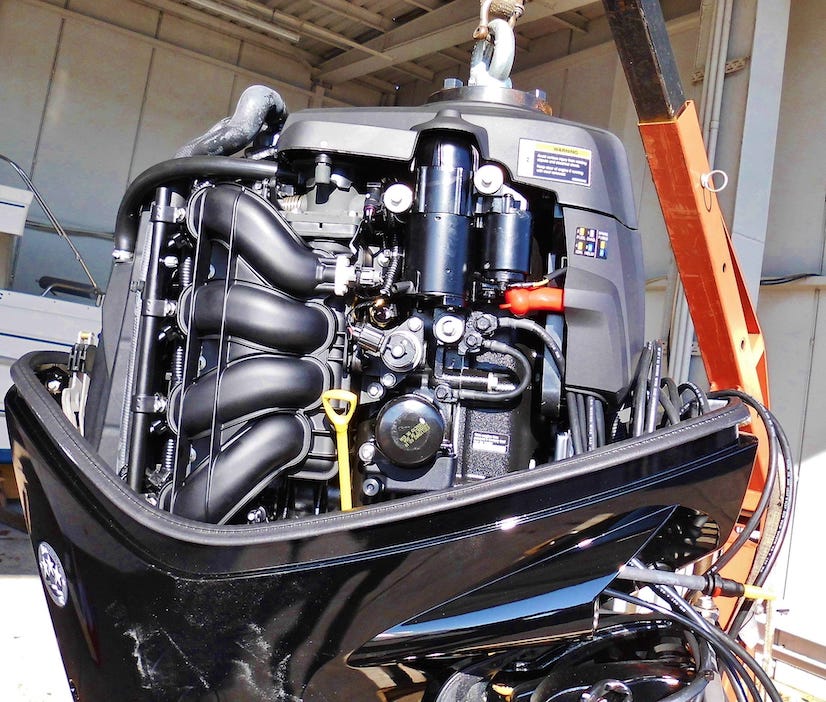
Asking to see the service records will give you the best indication of the state of the engine and how well it has been maintained. However, you can give it a good inspection to ensure there isn’t too much rust and that it looks clean and in good order. Checking the dipstick for milky looking oil will show whether any water has got in and at the same time check for cracked and worn hoses, cracked belts and corroded or hardened electrical connections.
Trailer
Many trailers are only occasionally used but launching into saltwater can cause parts to seize or corrode quickly. Try banging any rusty areas with a hammer– they should produce a metallic clang sound. Hold the wheel on either side and try rocking it to check the bearings – any movement may need checking out. Also, make sure the coupling bolts are tight and that the brakes aren’t seized. Nudging the trailer back and forward or tapping the drum with a hammer will usually loosen the brakes but it’s also important to ensure the cables are in good condition. Finally, check the winch mechanism and the state of its cable. And remember, if the trailer doesn’t appear to fit the boat properly and provide well-spread support – it may not be road legal.
RIBs
Older RIBs often look tired and worn but it’s worth remembering almost all issues are fixable and new tubes can make a boat look good as new. As well as tube replacements, full refits can encompass hull repairs, rewiring and even fitting new consoles.
When inspecting the tubes, check for patches and that any repairs have been conducted well and have not come loose. Also look out for tiny white spots showing through the colour, which indicate the tube may be nearing the end of its life.
One of the most serious problems to keep an eye out for is a boat with a ‘broken back’– one of the few issues likely to be terminal. This is generally indicated by long cracks across the beam. Longitudinal cracks along the chine may also be problematic but smaller star-shaped cracks don’t tend to be serious.
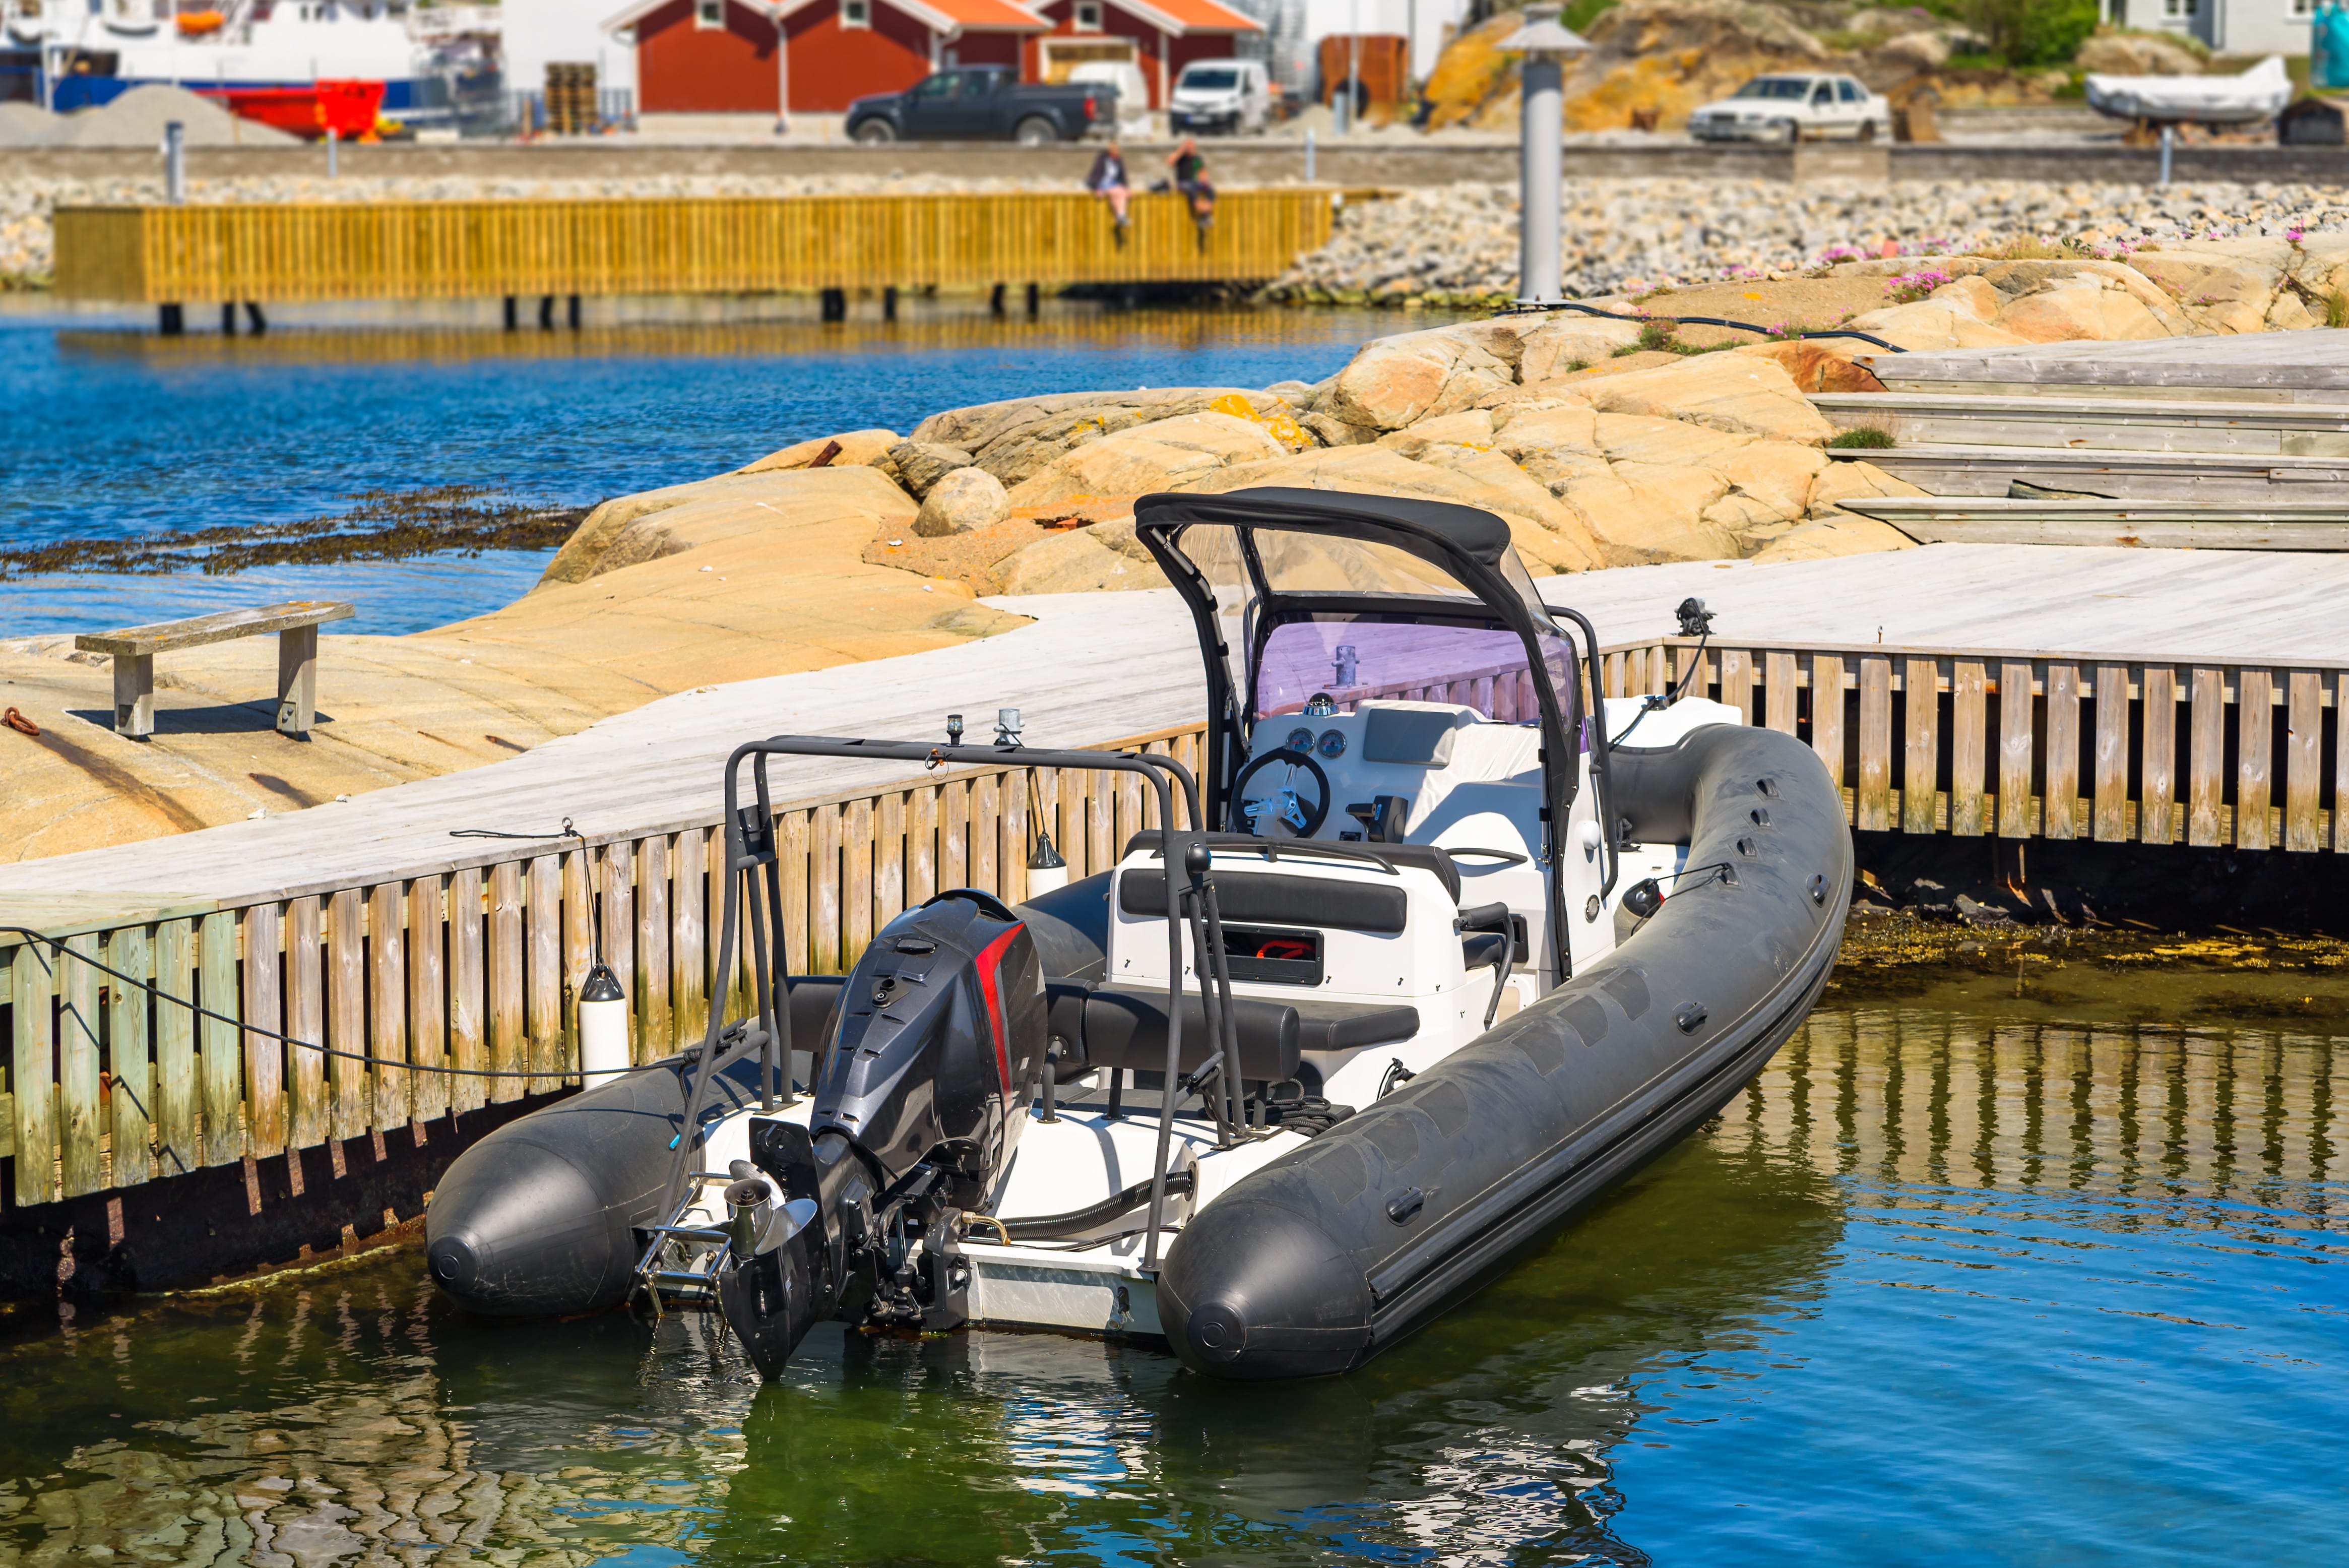
Many RIBs come with 10-year tube warranties, so ask about this if you’re buying a boat within this age bracket. And remember that if you’re prepared to go through the hassle of having your boat re-tubed, at a cost of about £5,000 for a 6m RIB, and the rest is generally sound, you may be able to pick up a bargain. Just check the sums add up to ensure you don’t spend more than it will be worth.
Plain sailing
Due to the extensive paraphernalia required, sailing yachts will undoubtedly have the most issues to look out for and the highest level of potential spend to put things right. Common areas to neglect are the standing and running rigging and electrics.
It can be easy to look at your new purchase through rose-tinted spectacles and underestimate the cost bringing her up to standard. As a single stainless-steel bottle screw can set you back between £35 and £75 and a full set of new standing rigging several thousand, it pays to be realistic. As it’s difficult to predict when rigging is going to fail, most insurers suggest it is replaced every 10 years and if this is not done so, or a proper inspection carried out, your insurance may be invalid.
When checking rigging yourself, look out for broken strands, especially near the swages, and that stays are running straight. As they are most likely to go at the swaged ends where movement chafes against the fitting, it’s worth examining these closely with the mast down.

Headsail furlers are another expensive piece of kit that can seize if not regularly washed with fresh water and properly maintained. Replacements can cost between £2,000 and £4,000. While examining the rigging, it’s worth also checking the mast foot for any signs of movement or corrosion as it takes the greatest compression load of the rig. The mast itself should also be checked for any cracks or problems around the fittings, and the gooseneck examined for wear along with any shackles and U-bolts.
If you are unable to take the boat out on a test sail, ask to see all the sails and open them out to check their condition along with the state of her lines. In fact, the full inventory, from the tender to the anchor and fenders should be checked as each piece that has to be replaced adds up.
Professional opinion
If you’re still enthusiastic after your initial inspection, it’s time to bring in the professionals. Just as with buying houses, a surveyor will give you peace of mind that all is in good order or point out issues you hadn’t noticed. If these aren’t too serious but may be costly or time-consuming to put right, a professional report will provide a useful tool to help knock down the price.
To find a reputable marine surveyor contact:
Yacht Designers and Surveyors Association at
ydsa.co.uk
or


